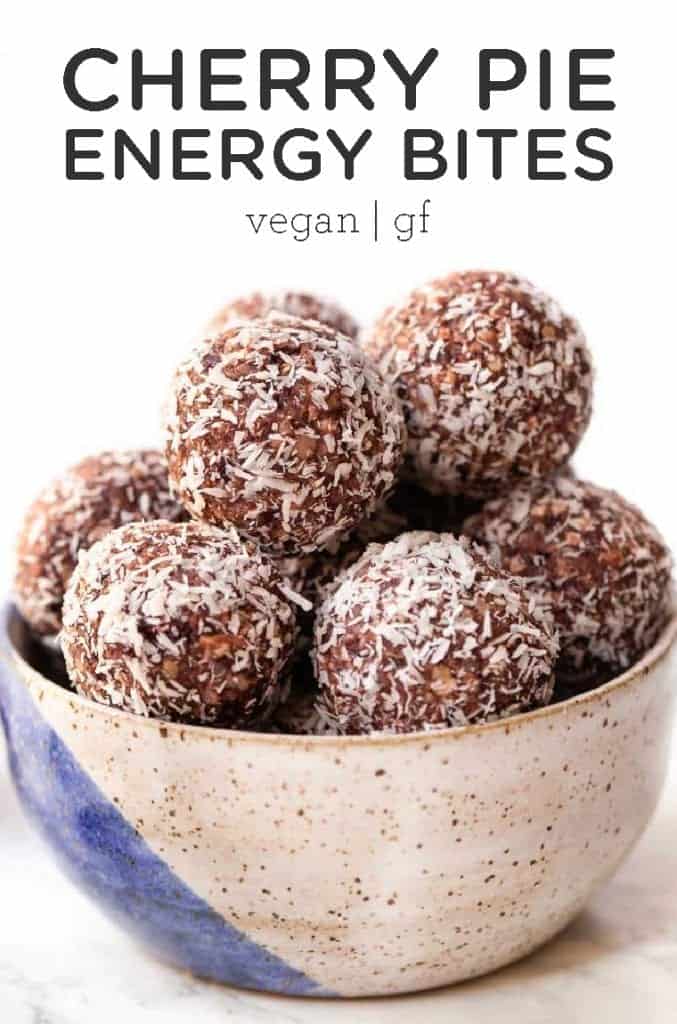
These no-bake Cherry Pie Energy Balls are an easy and healthy snack idea. They're packed with nutrients, are naturally gluten-free and also vegan too!
I'm moving out of my comfort zone here. Typically my energy balls are either chocolate-based, peanut butter-based, or a combo of the two. But today we're keeping things light and summery with these no-bake cherry pie energy balls.
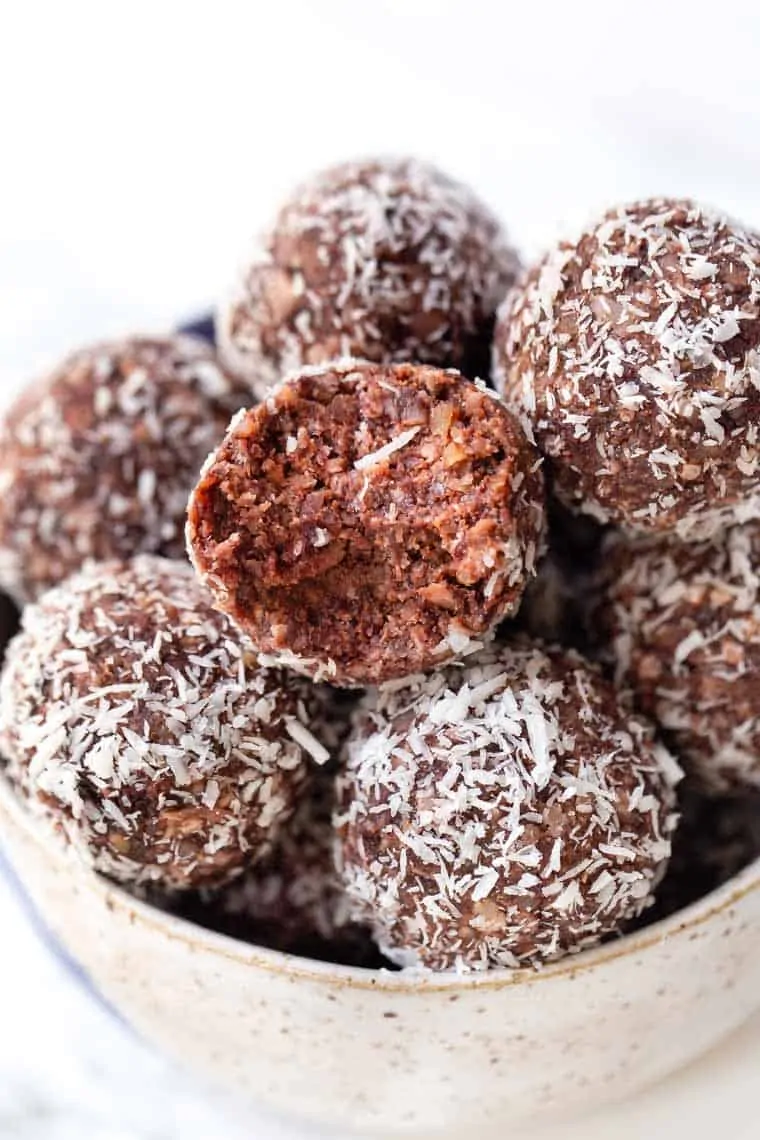
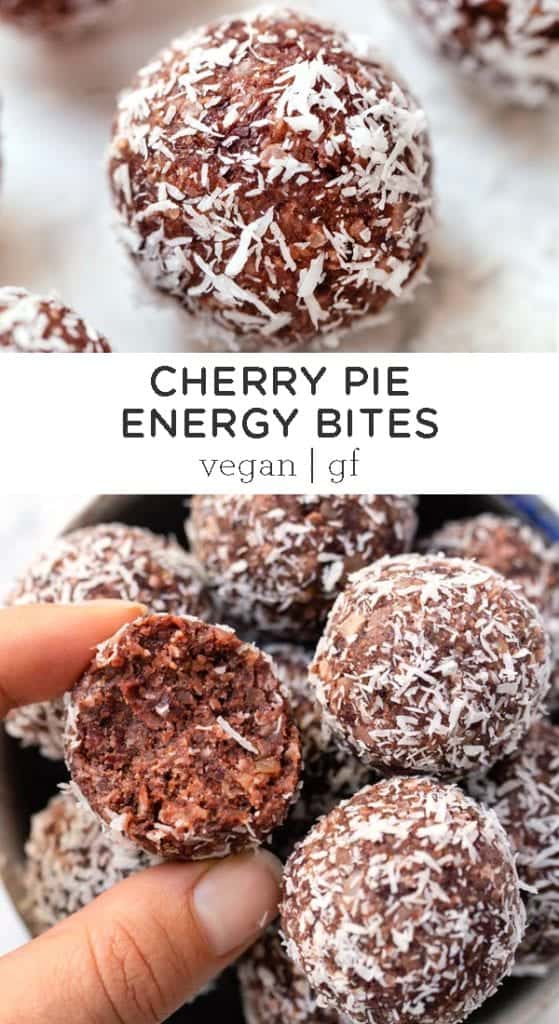
They're fruity, they're a bit tart, they're just the right amount of sweet, and they're the perfect little snack.
And even better? They use just 7 ingredients, keep well for days (if not weeks!), and are packed with nutrients. Talk about fabulous!
How to Make Energy Balls
If you're new to the world of energy balls and you've never made them before, let's start by sending you over to my Ultimate Guide to Energy Balls which talks all about how to make them, the different ways you can customize them and also the equipment you'll need.
But in short, to make energy balls you'll need a food processor. The base is typically dried fruit and nuts, that get processed to form a somewhat sandy texture. From there you add in your other ingredients like nut butter, coconut, oats, etc. (basically whatever you want), and process again until it forms a dough.
Energy ball dough needs to be a little sticky, but not overly so. You want to be able to pinch it between your hands and have it hold together, but not be like squishy. If it is squishy, add more dry ingredients (like oats, quinoa flakes, coconut, nuts, etc.).
Then you just roll that dough into balls and you're good to go!
Why Are Energy Balls Good for You?
I feel like energy balls have kind of taken over the internet and honestly? They deserve it! Energy balls are an amazing snack. But they're also great pre- and post-workout, and even triple as a healthy dessert.
Energy balls are healthy because they've got a blend of:
- protein
- healthy fats
- carbohydrates
- natural sugars
You get your quick hit of energy from the carbs and sugar (usually dried fruit), then the healthy fats and protein help to keep you full and satisfied (usually nuts).
They're also grab-and-go so you can take them with you on a trip, to the gym, to work, or throw them in your kid's lunch box.
Ingredients for Cherry Pie Energy Balls
Okay so let's chat about these fabulous little bites of sweetness. Since we're making cherry pie energy balls, we're going to use dried cherries as our base.
Cherries on their own however can be quite tart, so we're also going to throw in some dates for a little extra sweetness. One quick note: you'll want to soak your dried cherries before blending so they soften a bit.
I really wanted cherry to be the star of this recipe, so for the rest of the ingredients, I went for some mild flavors. We're using cashews and quinoa flakes as our dry ingredients, cashew butter (which I'm obsessed with) as our “liquid” and then a dash of maple syrup to really send them over the edge.
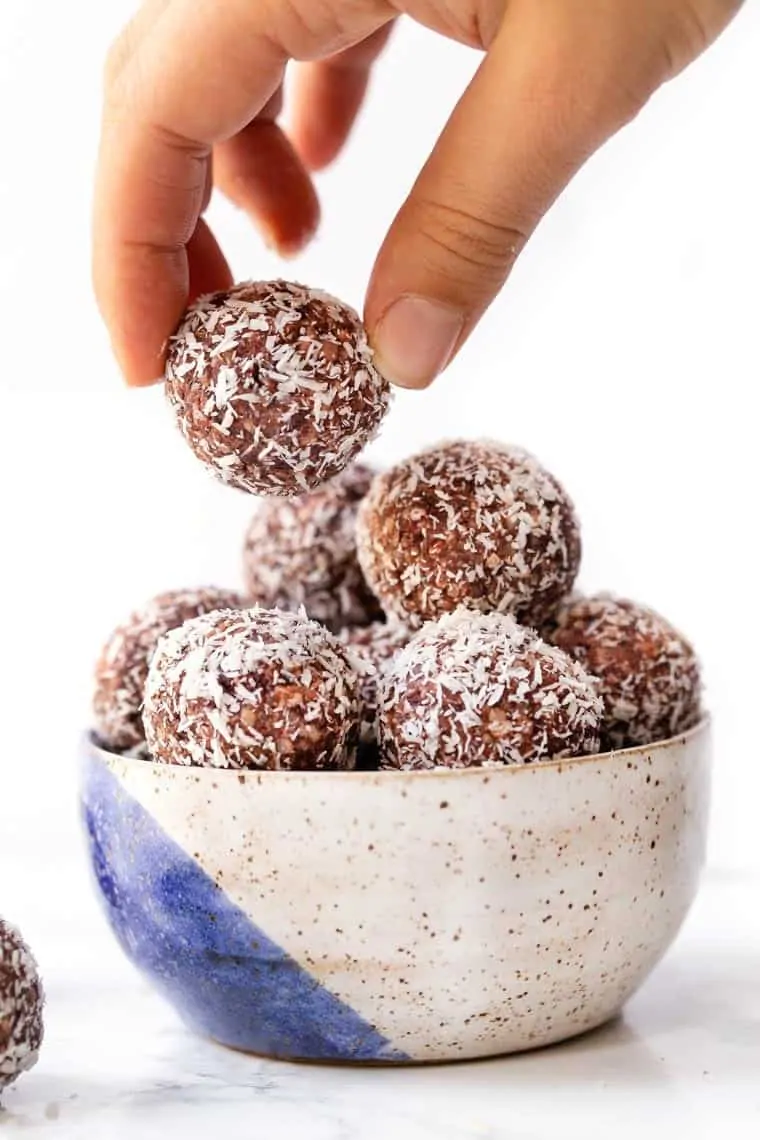
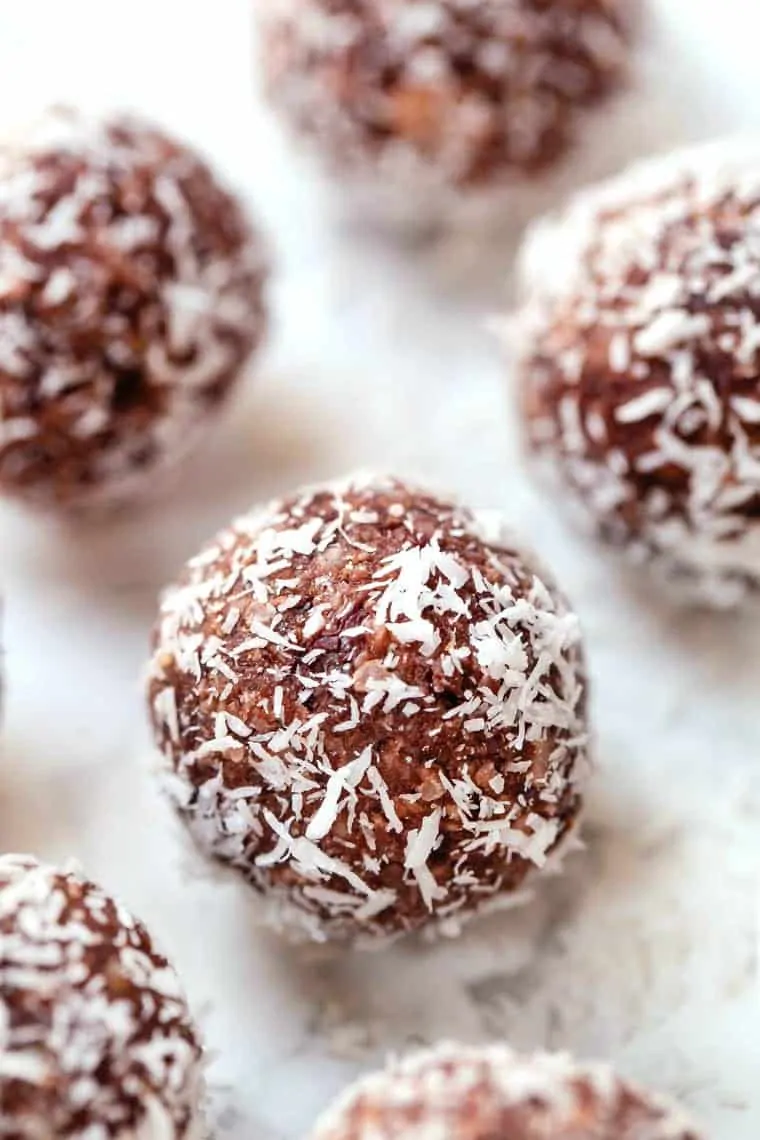
And to make them a teensy bit fancy, we're rolling them in shredded coconut. They're simple, delicious and I know you're going to love them!
More Easy Energy Balls to make:
- Healthy Cake Batter Energy Bites
- No-Bake Gingerbread Energy Balls
- Banana Peanut Butter Energy Bites
- Golden Milk Energy Balls
- PB&J Energy Bites
- Chocolate Chip Peanut Butter Energy Balls
Cherry Pie Energy Balls
Ingredients
- 1 ½ cup dried cherries
- ½ cup medjool dates , pitted
- 1 cup raw cashew pieces
- 1 tablespoon cashew butter (or nut butter of choice)
- 1 tablespoon maple syrup (optional)
- ½ cup quinoa flakes or gluten-free quick cooking oats
- ½ cup shredded coconut (optional)
Instructions
- Place cherries in a bowl with warm water and let soak for 15 minutes.
- Drain and place cherries along with dates into the bowl of a food processor fit with a steel blade. Process until the fruit is starting to come together, about 30 seconds.
- Add cashews and process again until cashews are broken apart and evenly distributed throughout the mixture, another 30 seconds or so.
- With the processor going, add cashew butter. Continue to process until the mixture starts to come together to form a dough. Add in maple syrup if desired.
- Pulse in quinoa flakes (or oats) until dough holds its shape when pressed between your fingers.
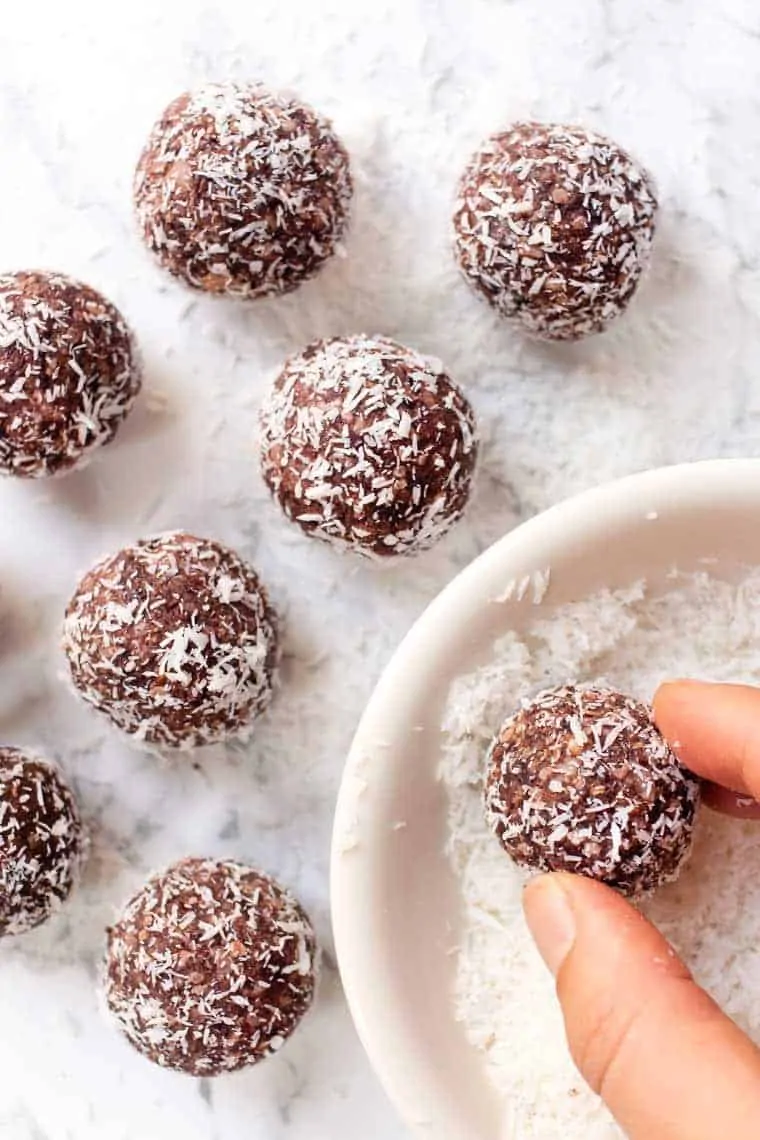
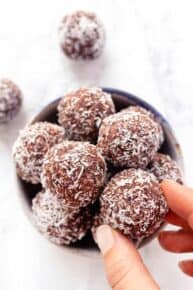
- Taking 2 tablespoons of dough at a time, roll it into a ball between your hands. If using, roll in coconut and set on a plate. Repeat until all balls are formed.
- Chill in the fridge for at least 30 minutes before serving. Keep refrigerated in a sealed container for up to 5 days.
Video
Nutrition
Irresistible! If you’re using a mini processor, work in batches. I made half the recipe in my mini and it was a close one. When I make them again I’ll melt the nut butter a little to make incorporation easier.
I can not do the coconut, is there a good substitute you can suggest?
You could use seeds like chia or flax! or just leave it out entirely 🙂
What can i use of dates?
Instead of? You could try dried figs!
Love these!
Yay! Thanks, Sarah!
Could you omit the nuts and use something wise in their place?
I think seeds would work!
Can i use frozen cherries instead of dried?
Not for this one! The dried are what help them stick together 🙂
These energy balls look delicious… I love the idea of incorporating cherries, such an original and amazing combo! Can I use fresh cherries if I can’t find dry ones? I live near Florence, Italy, and might not be able to find dry cherries here. Thanks!!
I don’t think fresh will work, unfortunately 🙁 But you could use another dried fruit/berry if you can find that!