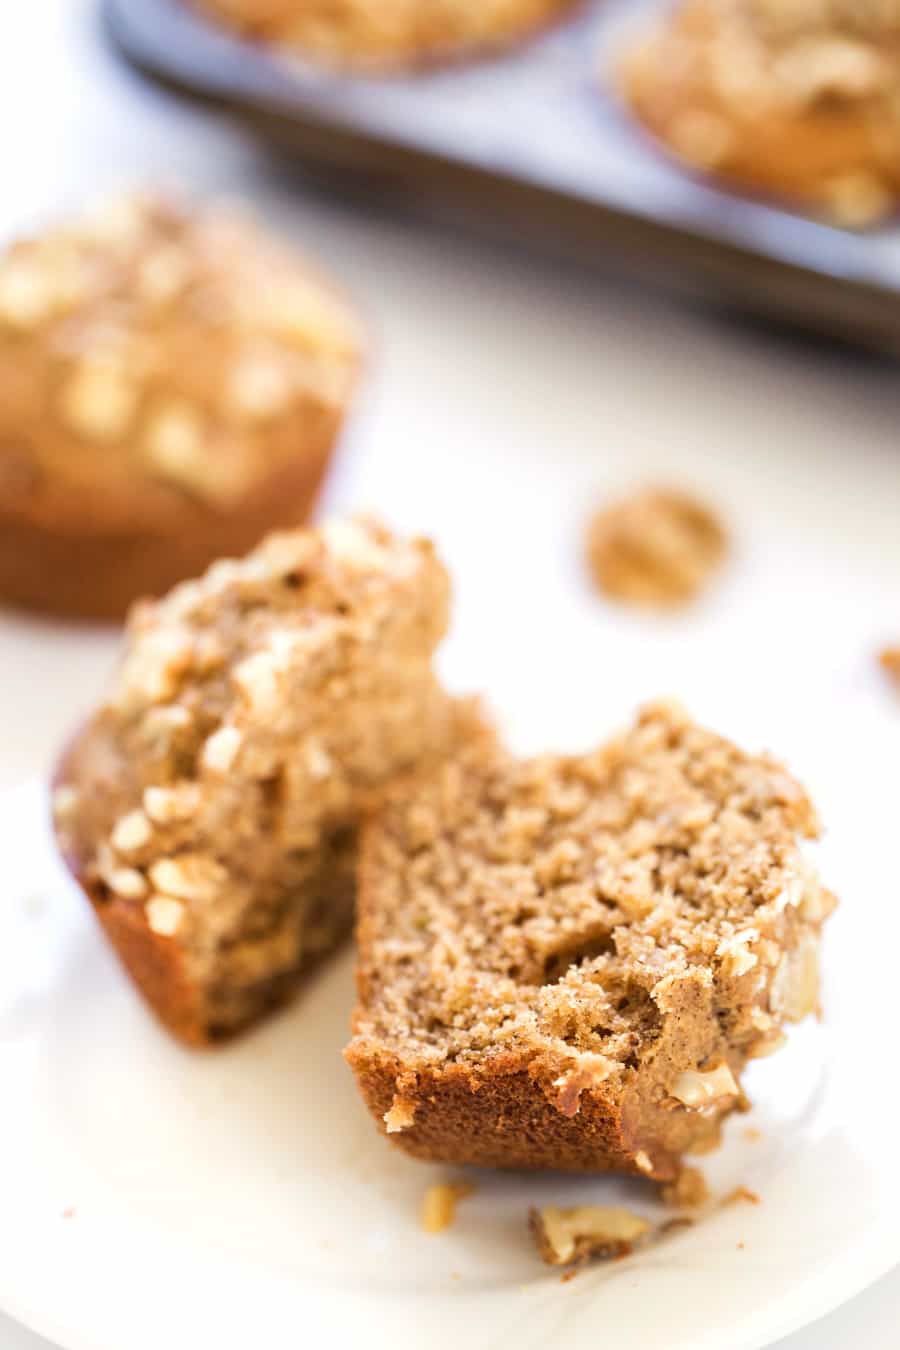
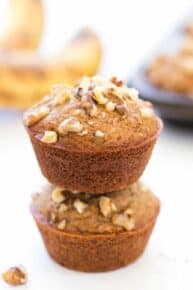
These gluten-free banana bread muffins are the perfect morning treat. They’re light, fluffy, and moist, and sweetened with rich maple syrup.
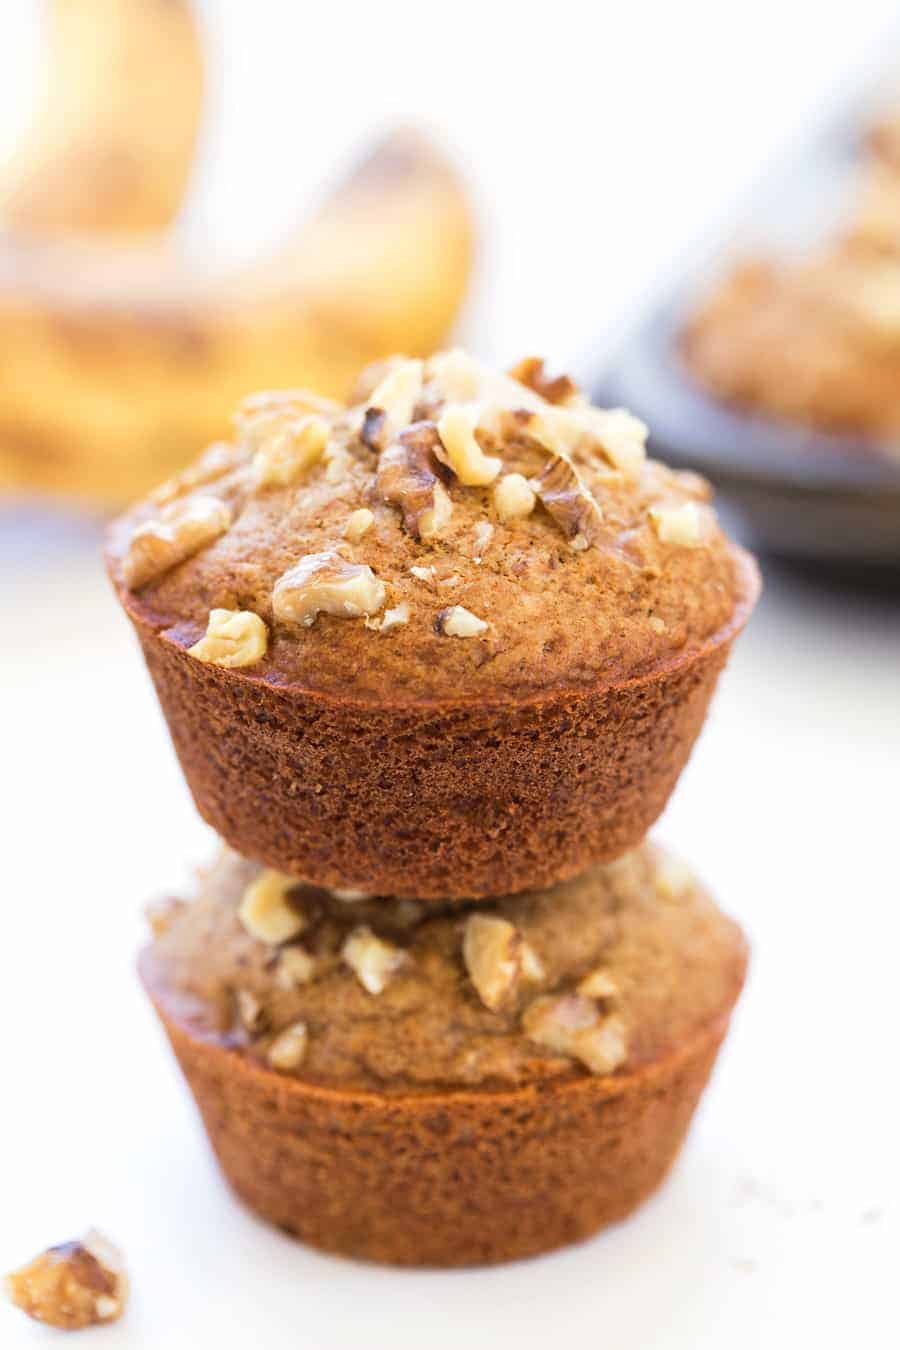
I’m a big fan of eating banana bread in the morning. It’s such a good meal to start the day. This recipe for gluten-free banana bread muffins is basically just banana bread, but smaller. It’s full of your favorite banana bread flavors, like bananas, vanilla, cinnamon, nutmeg, and walnuts. This recipe also has maple syrup, which adds a rich, caramel flavor.
These muffins have complex flavors, but they’re easy to make. They take less than half an hour! Plus, they’re gluten-free and have lots of healthy ingredients like bananas, nuts, and quinoa flour. You’ve got to give them a try.
What You’ll Need
Here are all of the ingredients needed to make moist banana bread muffins. Scroll to the recipe card at the bottom of the page to see the exact amounts for each of the ingredients.
- Bananas
- Coconut oil – It’s best to use organic coconut oil.
- Maple syrup – Make sure to use 100% pure maple syrup, preferably organic.
- Coconut sugar – You can use other types of sugar if you prefer.
- Vanilla extract – Be sure to use 100% pure vanilla extract.
- Eggs
- Apple cider vinegar
- Toasted quinoa flour
- Tapioca flour
- Baking soda
- Baking powder
- Cinnamon
- Nutmeg
- Salt
- Walnuts – You can use any type of nuts for this recipe, but walnuts and pecans are the most common with banana bread.
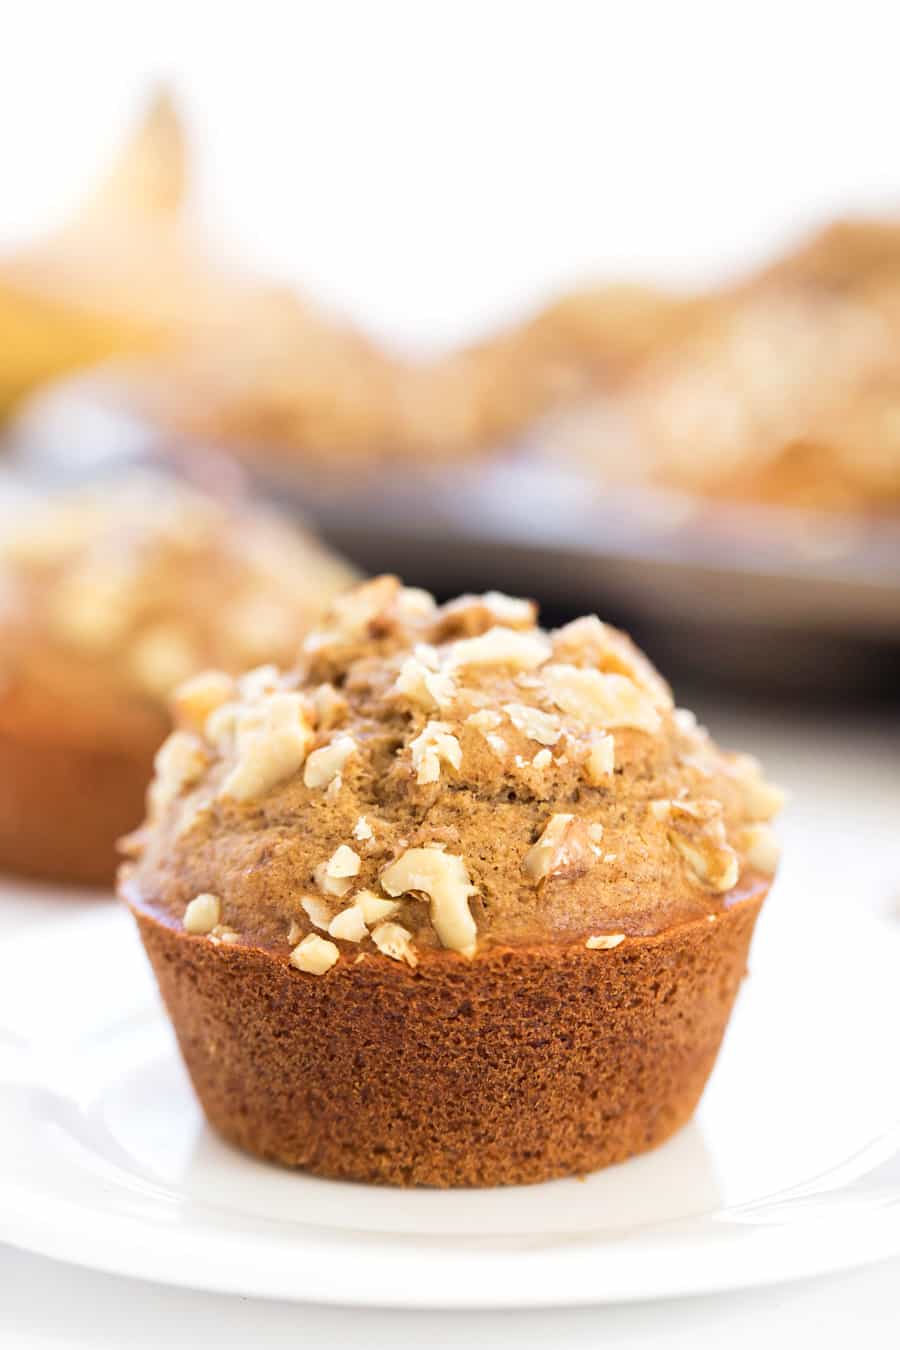
How to Make Gluten-Free Banana Bread Muffins
Here’s how to make these nutty, maple banana muffins. They only take 25 minutes!
- Prep. Preheat your oven to 375F and grease a 12-cup muffin tin.
- Mix the wet ingredients. Add the wet ingredients, including the bananas and the sugar to a large mixing bowl. Beat until they are well mixed.
- Add the dry ingredients. Put the dry ingredients in the mixing bowl with the wet ingredients. Stir until the banana bread muffin batter is smooth.
- Fill the muffin tin. Spoon the batter into the muffin tin, filling each cup about ¾ full.
- Add the nuts. Sprinkle some nuts on top of each muffin, and lightly press them into the batter.
- Bake. Place the muffin tin in the center of the oven. Bake until a cake tester or toothpick inserted in the center of a muffin comes out clean. This should take 13-15 minutes.
- Cool. Take the muffins out of the oven and let them cool on a wire rack for 10 minutes before eating.
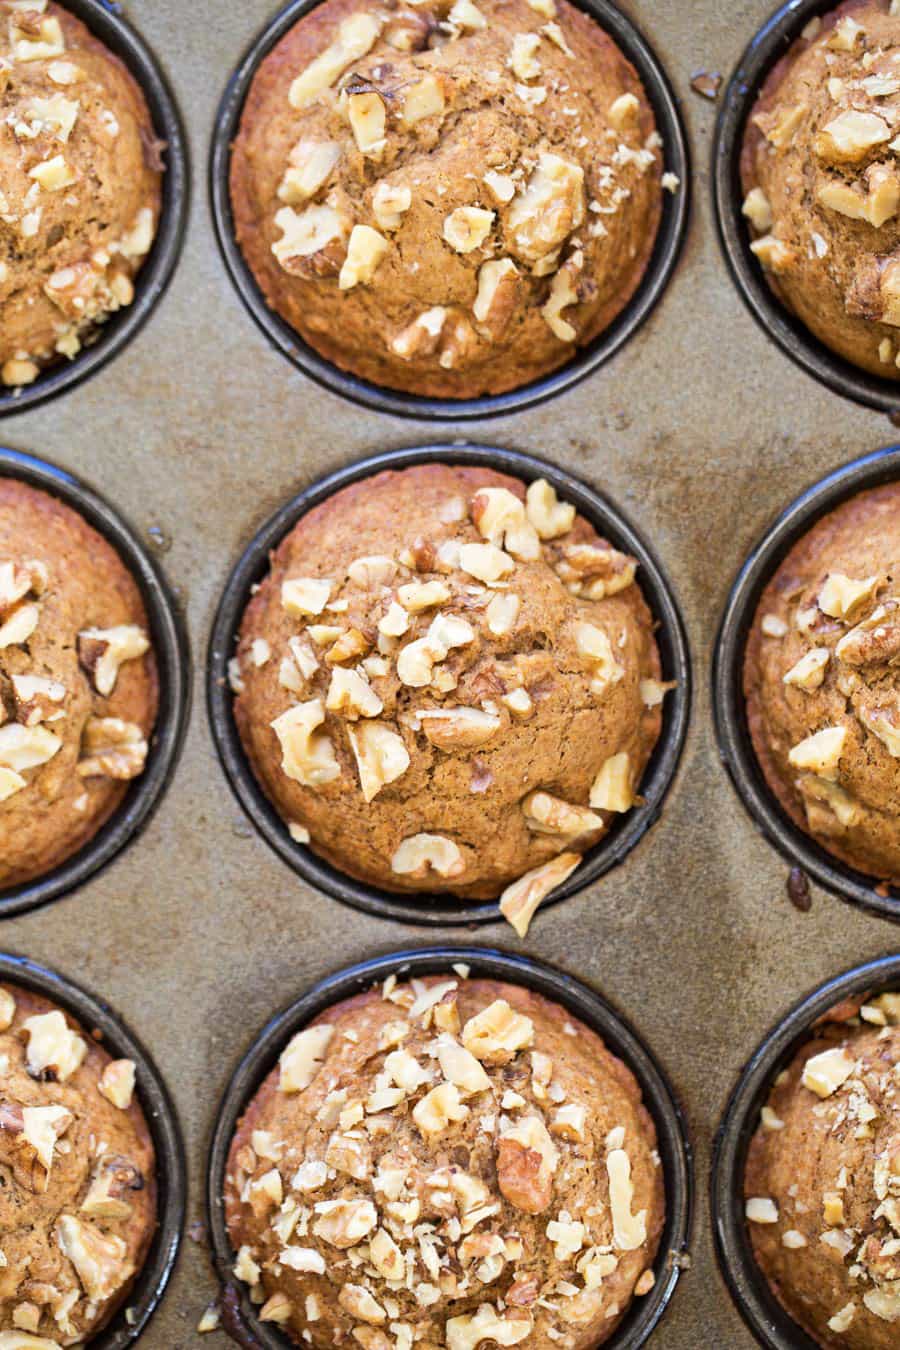
Tips for Success
Here are some of my favorite tricks and tips for making these soft and fluffy banana muffins.
- Extra ripe bananas. It’s important to use bananas that are super ripe when making banana bread. You can even use bananas that are a little overripe … it will just make the muffins a little bit sweeter! If the bananas aren’t ripe enough, they’ll be too firm to mix with the batter. Plus, the flavor won’t be as good.
- Room temperature eggs. If possible, remove your eggs from the fridge at least 30 minutes before making this recipe. When eggs are at room temperature, they’ll mix with other ingredients better. That will make the muffin batter more smooth, and give your baked goods a better consistency.
- Silicone muffin tin. Silicon muffin tins or silicon muffin liners are perfect for banana bread muffins. They keep the muffins from getting stuck to the tin and result in a more consistent bake.
Serving Suggestions
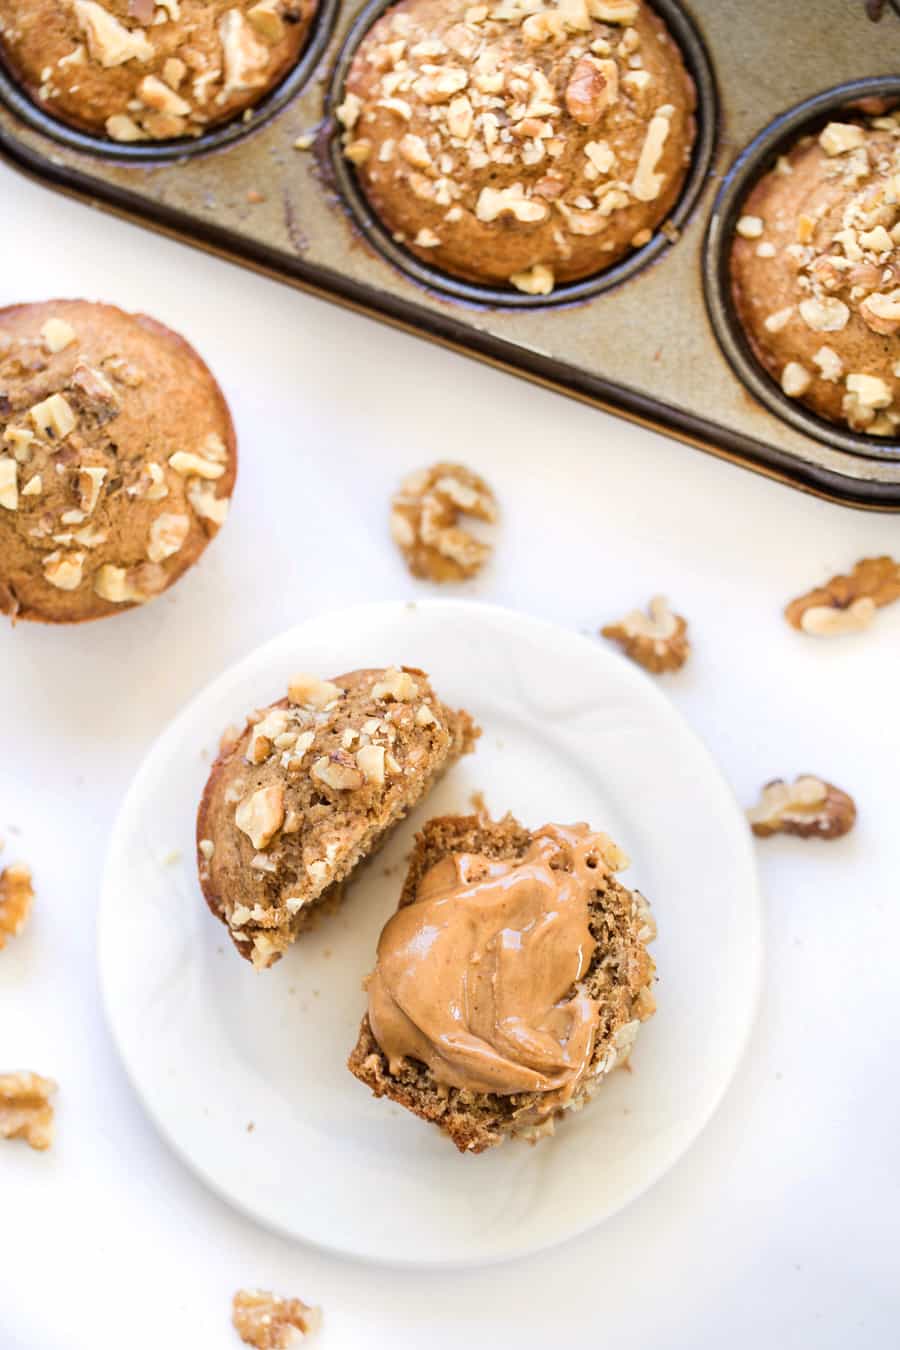
I think these gluten-free muffins are best when served with a topping or spread. They’re great with vegan butter (or regular butter if you prefer) or Chia Seed Jam. But I think they’re best when topped with a healthy nut butter such as Honey Roasted Peanut Butter, Pumpkin Spice Almond Butter, or Cinnamon Vanilla Pecan Butter. I also like to drink a Matcha Latte while eating these muffins!
How to Store Leftovers
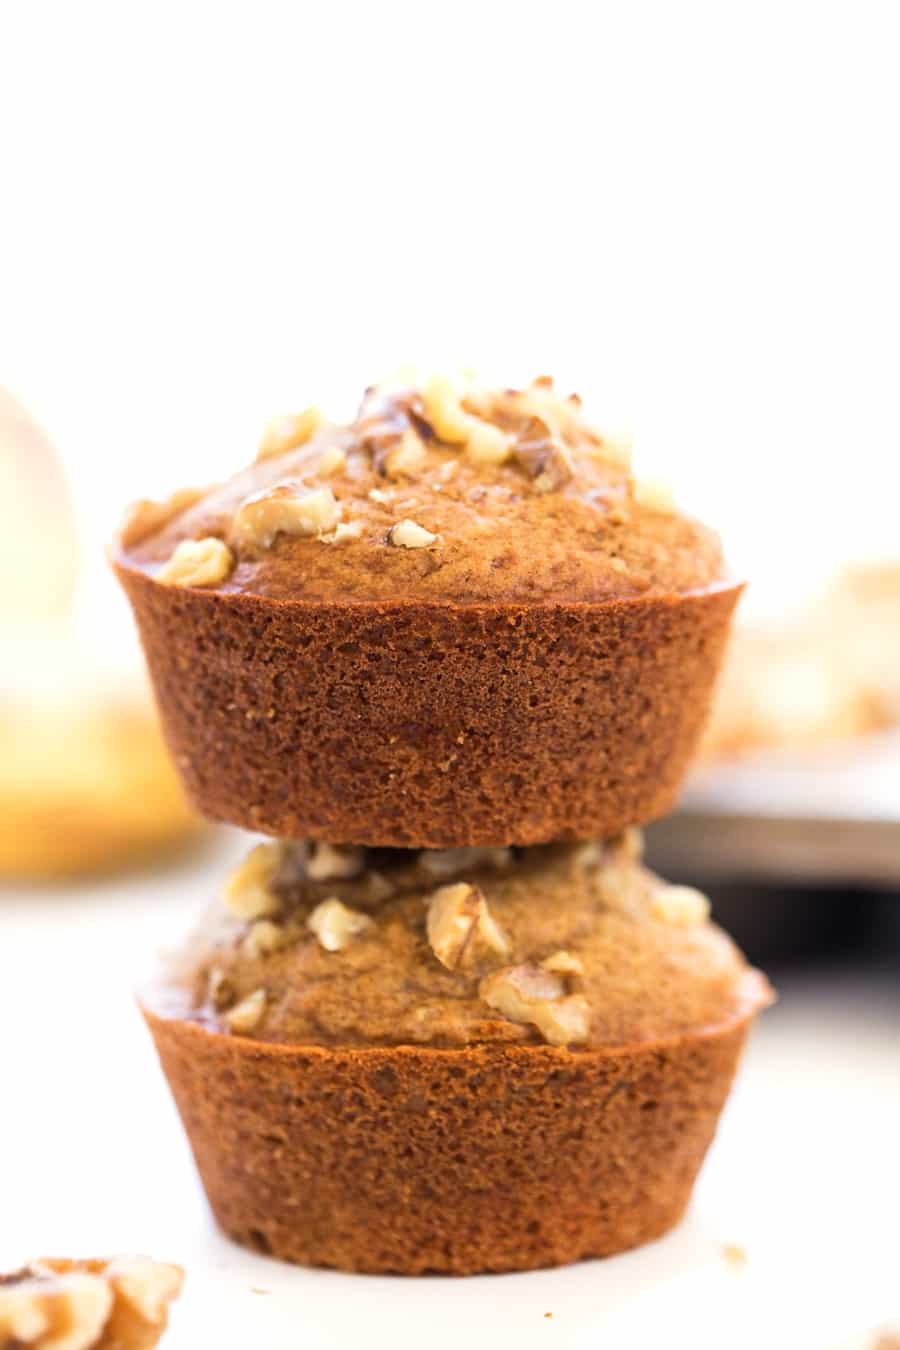
For best results, store these banana muffins in an airtight container or bag on the counter for 4 days. You can also store them in the fridge for up to 7 days, but they’ll dry out more quickly. If you want to reheat the muffins, put them in a toaster oven at medium heat, or in a microwave on 80% power in 15-second increments.
Can I Freeze Gluten-Free Banana Bread Muffins?
These muffins are great from freezing. Double bag them in airtight plastic bags, then place them in the freezer for up to 5 months. Defrost or thaw fully before reheating.
More Healthy Muffin Recipes
If you like these gluten-free banana muffins, then check out some of my other favorite healthy muffin recipes.
- Healthy Carrot Cake Blender Muffins
- Healthy Strawberry Banana Oatmeal Muffins
- Skinny Spiced Coconut Yogurt Quinoa Muffins
- Healthy Chocolate Muffins with Raspberry Swirls
- Healthy Apple Crumb Muffins
Gluten-Free Banana Bread Muffins
Ingredients
- 2 large mashed ripe bananas
- 1/4 cup melted organic coconut oil
- 1/4 cup organic Vermont maple syrup
- 1/4 cup coconut sugar
- 1 teaspoon pure vanilla extract
- 2 large organic free-range eggs
- 1/4 teaspoon apple cider vinegar
- 1 cup toasted quinoa flour
- 1/2 cup tapioca flour
- 1/2 teaspoon baking soda
- 1 teaspoon baking powder
- 1/2 teaspoon cinnamon
- 1/4 teaspoon nutmeg
- Pinch of salt
- 1/4 cup walnuts (any kind of nuts would work)
Instructions
- Preheat the oven to 375F. Grease a 12-cup muffin tin and set aside.
- In a large mixing bowl, beat all wet ingredients together (including the bananas and the sugar) until fully combined.
- Add the dry ingredients to the banana mixture and stir to combine, until you have a nice smooth batter.
- Spoon the batter into the muffin tins, filling each cup about ¾ of the way full. Top each muffin with some walnuts and gently press down so that walnuts stick as the muffins bake.
- Bake in the center of a warm oven for 13 – 15 minutes, or until a cake tester inserted into the center comes out clean.
- Let the muffins cool for 10 minutes on a wire rack.
- Enjoy these muffins served warm, topped with vegan butter, jam, or your favorite nut butter.
Notes
Nutrition
Filed Under:
New to cooking quinoa? Grab your FREE Quinoa Starter Guide!
Become part of the Simply Quinoa community and receive weekly emails with exclusive content that I only share in email, as well as my in-depth guide to starting your quinoa journey.
